
By loading the video, you accept YouTube's privacy policy.
Learn more
Sequenzen:

Endoscopic inspection of the Zenker diverticulum. Any food residues that may be present in the diverticulum are removed before further intervention.

Positioning of a gastric tube and attachment of a 4-mm distancing cap to provide better visualization of the Zenker diverticulum.

The septum of the diverticulum is demonstrated with the cap, and the Clutch Cutter is introduced. The instrument can be rotated 360 degrees by the assistant.

Coagulation of the diverticular septum using the Clutch Cutter. Settings: forced coagulation 30 W, Endo Cut Q with an effect of 1, cutting duration 3, cutting interval 1.

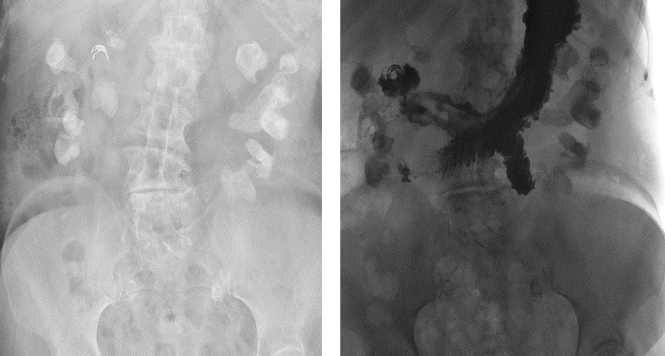
If cutting continues too far, the lumen opens up and a perforation can be seen. Carrying out the intervention using CO2 is therefore recommended.

Resolution clips are placed to close the perforation. The perforation is completely closed with several clips in what is called the “zip” technique, and the gastric tube is left in place.
Related Posts
Endoscopic treatment for peptic ulcer perforation
Background Perforation of an acute ulcer is a serious and
VIEW THE GALLERY
